If your facility is available to rent, but you have a cleaning service or lawn care service interfere with potential rentals, you have the ability to make an exception within your available inventory to account for any conflicts. Note: Once an exception is made it can be deleted, however, the availability of the dates and times will not be reinstated.
-
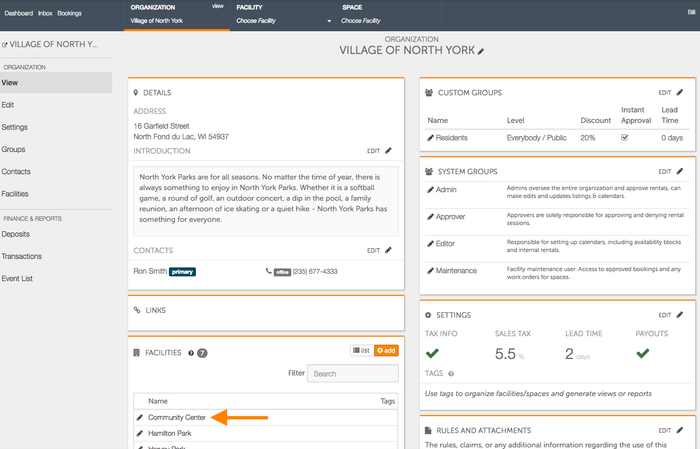
Beginning at the organization home page, select the facility you would like to make an exception for.
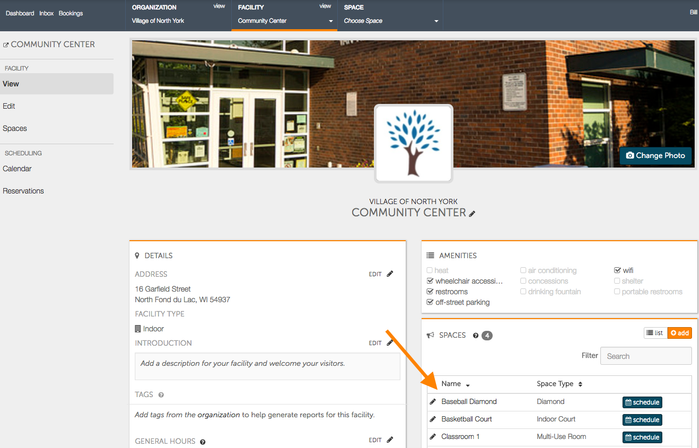
- From the facility screen, select the space that you will be making an exception for.
-
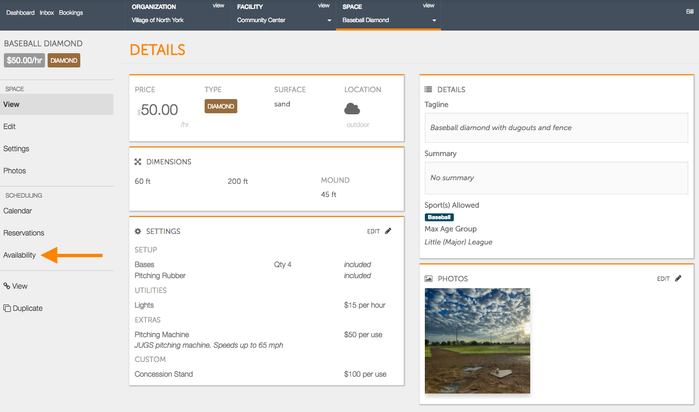
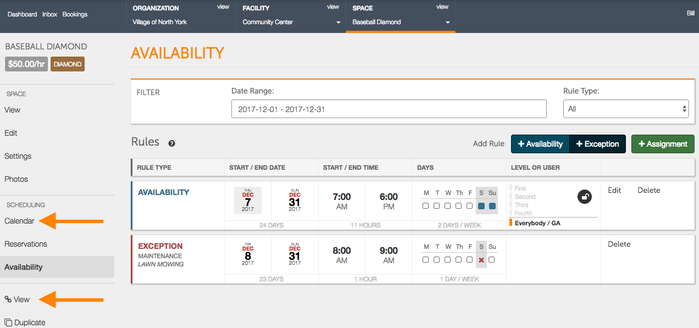
On the space page, click on Availability on the left hand side to be brought to the Availability page.
-
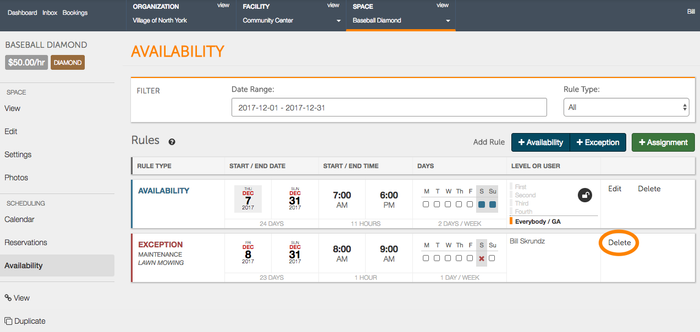
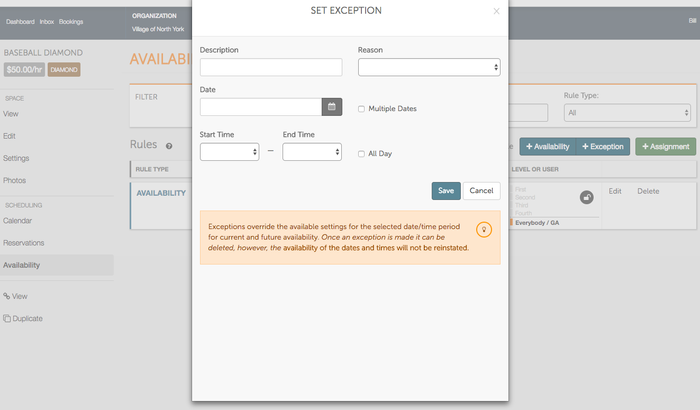
On the inventory page, click on +Exception to make an exception.

-
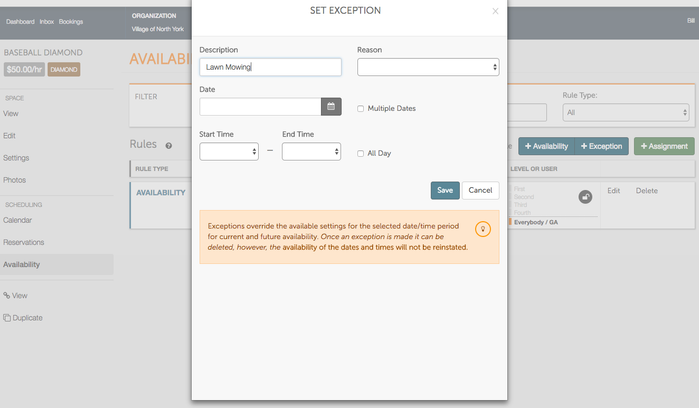
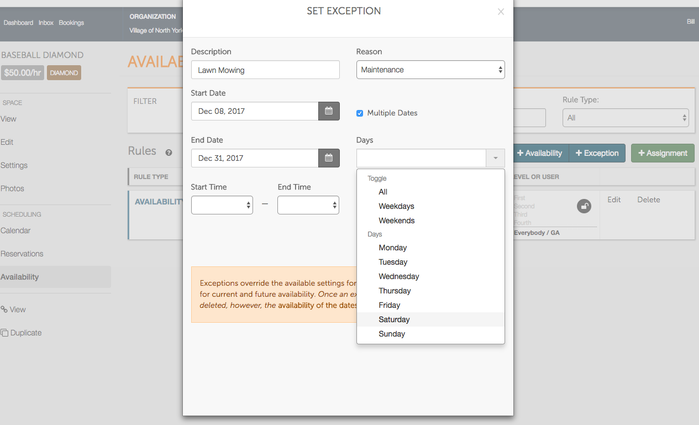
Begin creating your exception by typing in a description. The description can range from anything from "Lawn Mowing" to "Closed for the Holiday".
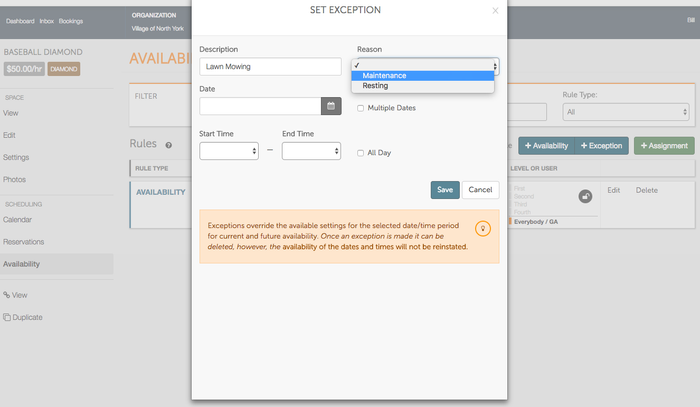
- Next, click on the Reason drop-down box to input a reason for your exception.
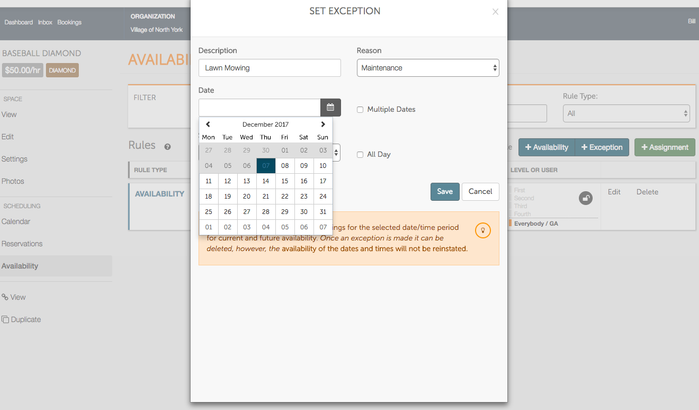
- Click the calendar icon to select the exception date. To set multiple days of exceptions, click on the check box to the right of Start Date. If selecting multiple days of exceptions, click on the calendar icon to choose both a Start Date and an End Date.
-
You can choose which days of the week your exception will occur on as well. There are options to of days of the week to choose from including individual days of the week, weekdays, weekends, or all.
-
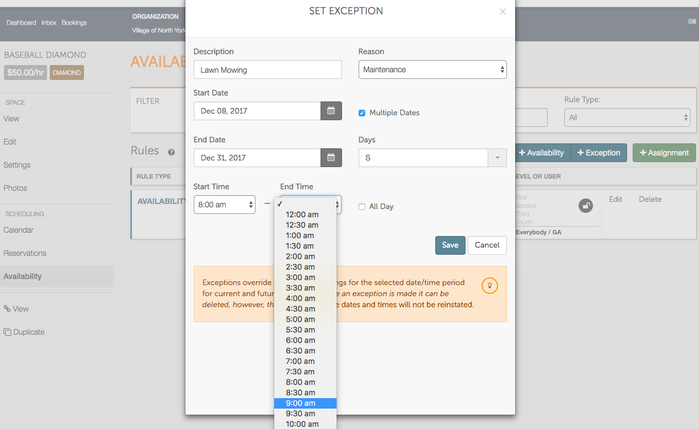
Then select the start and end times for your exception.
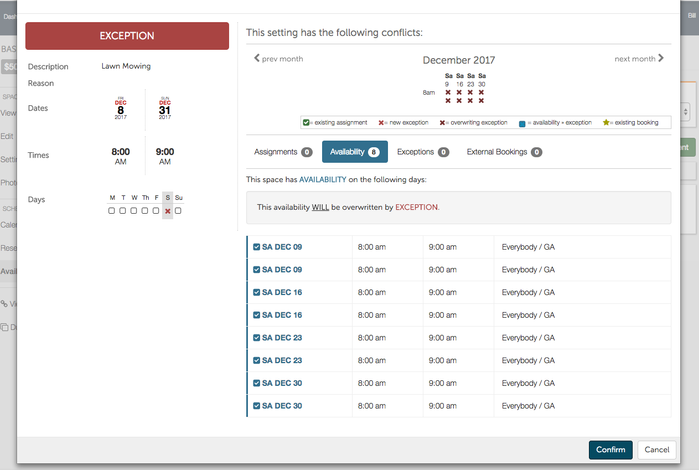
- Upon hitting Save, you will receive a Conflict prompt alerting you of any potential conflicts, such as internal assignments, bookings, or other exceptions that will be taking place. Here, the conflict that is appearing is referring to the exception overwriting the availability blocks. If you have no other conflicts that would pose an issue with your exception, select Confirm to finish setting up your exception.
- A save success box will briefly be displayed at the bottom of the page to confirm that your exception has been successfully created.
.png?version=2&modificationDate=1512748006277&cacheVersion=1&api=v2&width=300&height=71)
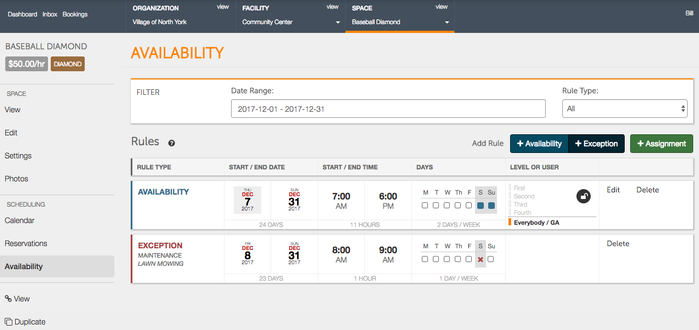
- Your exception is now created!
-
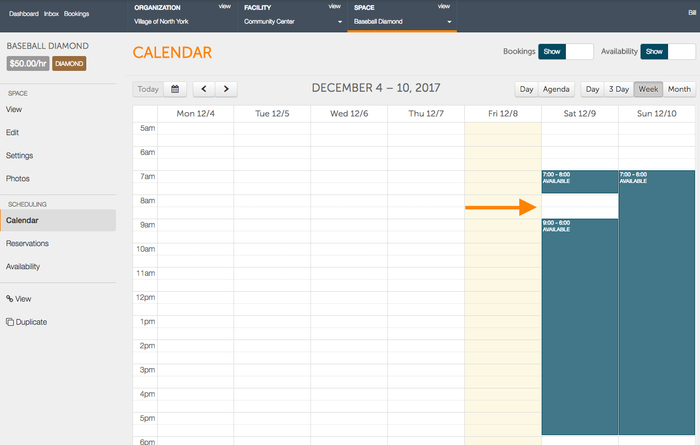
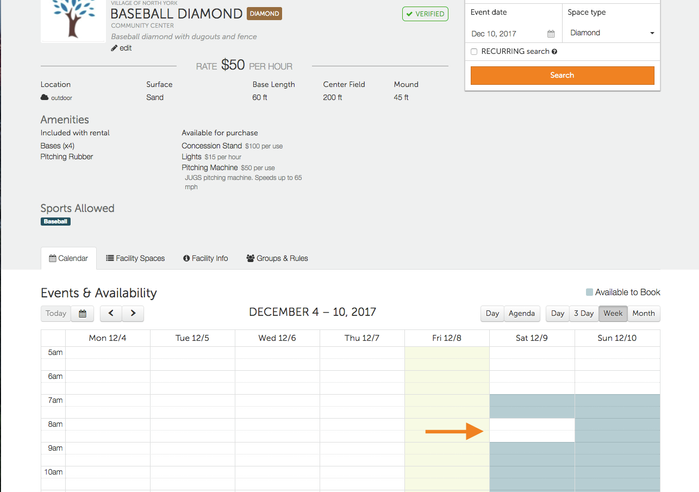
To view your exception, you can select Calendar on the left hand side. Your exception will be hidden from the Renter's calendar - it will appear as though no availability during that time.
- If you would like to delete your exception, you may select “delete” next to your exception on the inventory page. Note: Once an exception is made it can be deleted, however, the availability of the dates and times will not be reinstated.